Private BitWarden setup with vaultwarden and Tailscale
Published on 2021-05-01 by Andrea Barberio
Updated on 2023-01-01: changed “bitwarden_rs” references to “vaultwarden”
I love BitWarden. I didn’t know it, until in May 2021 LastPass decided to restrict their Free tier to only one device type (i.e. you can use it on your computer or on your phone, but not on both) This move has upset me quite a lot: restricting fundamental features like this in a security product is something I really dislike, and while I support paid premium features, this one should have remained free in my opinion. Note: I also have an employer-sponsored LastPass account, so this change was not affecting me in practice, but I disagree in principle with what they did.
So I looked for alternatives. Enter BitWarden and Tailscale.
The details of my setup are below, but first I want to discuss why I think this is an overall improvement for me:
- my data, even if end-to-end encrypted, is on a machine physically near me. While one can argue that on-premises is not inherently better, or more secure, than if it was hosted on a cloud provider, in this specific case I don’t see any advantage of having it on someone else’s remote computer
- the BitWarden server is not directly accessible via the internet, but only through the Tailscale VPN, which is based on Wireguard. It is not even accessible in my LAN, given that it is only bound to the Tailscale network interface. But at the flip of a button on their mobile app, I can immediately access to it
- thanks to the open-source Rust implementation of the BitWarden server,
vaultwarden, I get access to most premium features. The missing ones are just not implemented (yet) - thanks to Caddy and Let’s Encrypt the service is exposed over HTTPS on the VPN address
Some disadvantages:
- I have to maintain a Raspberry Pi system connected, patched, and with power backup. While this is not a problem for my home infra, not everyone may be OK with that. And of course you can replicate the configuration steps on any other Debian-based system, on premises or in the cloud
- if something goes wrong (my ISP breaks, Tailscale breaks and I’m not already connected to it, the Raspberry Pi fails, or cosmic rays), I could lose access to it. However the BitWarden apps maintain a local cache, so that at worst I won’t be able to sync with the server in case there were password changes from another device, at least until I’m back home to fix it. This risk is totally acceptable for me
Note about using a non-official server implementation: the only reason I used
vaultwarden instead of
BitWarden’s official one
is that it requires .NET and MS-SQL, and such a setup is pretty demanding for a
Raspberry Pi. If you don’t have this limitation, and are not interested in paid
premium features, I don’t see a reason not to use their implementation instead.
On supporting the BitWarden development: I am happy to support the development of their apps, while using the open source implementation. BitWarden is great also because they can pay their staff, and they deserve our support, and should consider subscribing to their service.
If you like me won’t use their cloud services and premium features, consider supporting in other ways, for example by buying their merchandise. We can help prove that this business model can work.
The setup
High level steps:
- install and run Tailscale on the Raspberry Pi
- configure a DNS record for your Tailscale IP address
- install and run run
vaultwardenvia docker - install and run Caddy with the DNS TLS challenge to get Letsencrypt certificates
- configure the BitWarden app or browser plugin with the Tailscale DNS record
Raspberry Pi with Raspberry OS
I am assuming that you are running this on a Raspberry Pi with Raspberry Pi OS.
Make sure that the OS is functional, connected to the internet, and up-to-date. It does not have to be exposed directly to the internet, since we will be using Tailscale for network access.
Private network access with Tailscale
I have repeatedly said how much I love Tailscale. It’s a wireguard-based VPN service developed by a few amazing folks like Avery Pennarun, Brad Fitzpatrick, David Crawshaw and Dave Anderson. Yes, I’m a big fan of their work in case it wasn’t obvious. They were able to make me hate networking a bit less, which is a pretty big achievement.
The Raspberry Pi used in this setup has Tailscale running and logged in.
Follow the installation instructions for Raspberry Pi at
https://tailscale.com/kb/1043/install-raspbian-buster , you just have to add their
apt repository and install the tailscale package.
Then run tailscale up, login with the provided link, and verify that all is
good by running tailscale status. The tailnet address will be in the 100.x
range.
DNS configuration
Now we need a DNS name for our Tailscale IP address, necessary to generate a Letsencrypt HTTPS certificate. And maybe also to be easier to remember than an IP address.
For the DNS name you can either use Tailscale’s MagicDNS, or publish the Tailscale IP address on a DNS server under your control. More details about the two options at https://tailscale.com/kb/1054/dns/ .
In my case I used my own domain, and AWS Route53 as DNS provider.
I went a step further, and automated the generation of DNS records for all my
tailscale machines, and I run it in cron once a day. My setup uses a couple of
small tools that I wrote under the
insomniacslk/dyndns-aws
repository, namely dyndns-aws and tailscale-updater (shame on me for that
code).
You need to set up your AWS credentials as explained in the main README, and
once you have those two tools in your PATH, you can run a command like below
on any Linux device that has Tailscale running under your Tailscale account:
tailscale-updater example.com | xargs -L1 -r dyndns-aws
Of course replace example.com with your own Route53-managed domain name.
You can run that command in cron to continuously update your own-domain Tailscale DNS records.
For the purposes of this post, let’s assume we are now using
bitwarden.example.com.
BitWarden server - non-official open source implementation
We are going to use the open source Rust implementation of the BitWarden server located at https://github.com/dani-garcia/vaultwarden . As mentioned above, this is not an official implementation, but among its benefits it will run on small-footprint hardware like the Raspberry Pi, and implements a few premium features for free.
All the commands below require super-user permissions, so remember to prepend sudo
where necessary.
You can run it via docker, so make sure you have installed it with
apt install docker. Then run it from the latest docker image:
docker pull vaultwarden/server:latest
docker run \
    -p 8080:80 \
    -p 8081:3012 \
    --env-file /opt/.bitwarden.env \
    -v /opt/bw-data:/data/ \
    --rm \
    --name vaultwarden vaultwarden/server:latest
The wiki at https://github.com/dani-garcia/vaultwarden/wiki contains a lot of useful information on how to run it.
Based on their documentation, I use a systemd unit file like this:
[Unit]
Description=Bitwarden
After=docker.service
Requires=docker.service

[Service]
TimeoutStartSec=0
ExecStartPre=-/usr/bin/docker pull vaultwarden/server:latest
ExecStartPre=-/usr/bin/docker stop bitwarden
ExecStartPre=-/usr/bin/docker rm bitwarden
ExecStart=/usr/bin/docker run \
  -p 127.0.0.1:8080:80 \
  -p 127.0.0.1:8081:3012 \
  --env-file /opt/.bitwarden.env \
  -v /opt/bw-data:/data/ \
  --rm --name bitwarden vaultwarden/server:latest
ExecStopPost=-/usr/bin/docker rm bitwarden
Restart=Always
RestartSec=30s
Type=notify
NotifyAccess=all

[Install]
WantedBy=multi-user.target
located at /etc/systemd/system/bitwarden.service. Just create the file with
the above content, then run
systemctl daemon-reload
systemctl enable bitwarden
systemctl start bitwarden
Once executed, the BitWarden server will be running on ports 80 and 3012 on 127.0.0.1. We don’t bind to 0.0.0.0 because otherwise our traffic would be unencrypted, and while this is probably not disastrous on a private Tailscale network, we want to use HTTPS instead.
At this point your BitWarden server is fully functional, but we want to add the HTTPS encryption layer on top of it, so keep reading.
HTTPS using Caddy, Letsencrypt, and AWS Route53
Now we want to expose the BitWarden server and web UI via HTTPS on the Tailscale network. You can use any web server with reverse proxy functionalities, but in my case I went for Caddy. Caddy is a wonderful software that made web servers (and servers in general) enjoyable again to me.
You need the basic server with the TLS DNS challenge module, see https://caddyserver.com/docs/automatic-https#dns-challenge for details.
You also need a domain name that you own, and a DNS service to manage it.
The DNS TLS challenge is required to get a TLS certificate from Letsencrypt, since the Raspberry Pi is not exposed to the internet.
I am using AWS Route53 as DNS service, so I downloaded Caddy with the
dns.providers.route53 plugin .
Just head to https://caddyserver.com/download , select the
dns.providers.route53 plugin, and download Caddy for Linux arm 6
(or build it from source code if you prefer).
Don’t forget to set up your Route53 credentials in this environment, or this
setup won’t work. Instructions are on the plugin repository linked above.
If you have a different DNS provider, make sure to select the appropriate plugin and configure things accordingly.
Now it’s time to run Caddy. There is plenty of documentation starting at
https://caddyserver.com/docs/getting-started . In my case I run Caddy via
systemd (see https://github.com/caddyserver/dist/tree/master/init), but you can
also experiment, and debug your setup, with caddy run first, until you’re
ready to run it as a system service.
The Caddyfile can be as minimal as this:
bitwarden.example.com {
    tls {
        dns route53
    }
    reverse_proxy 127.0.0.1:8080
}
Make sure to read the Caddy tls documentation to strengthen your HTTPS deployment, for example enabling STS or disabing certain ciphers.
If everything was done correctly, you should be able to access the BitWarden (unofficial) UI at https://bitwarden.example.com (replace with the hostname you configured above). It should look like this:
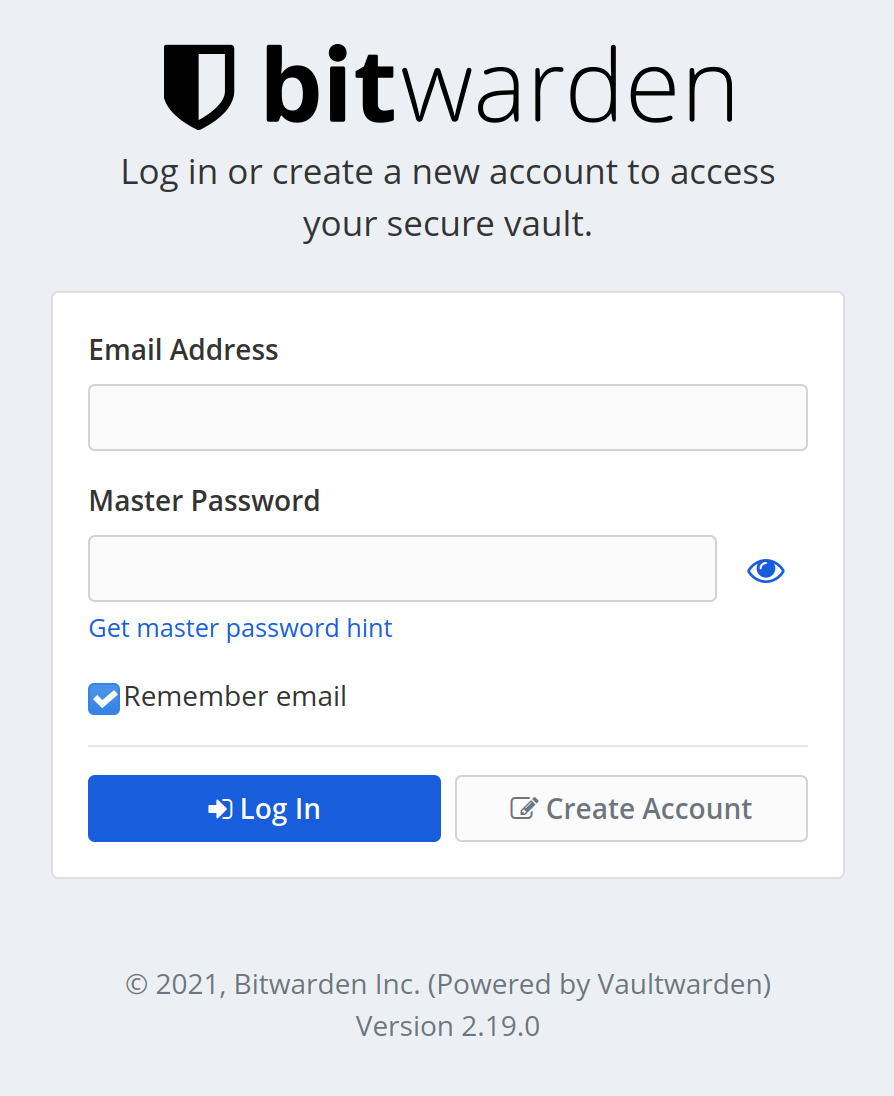
BitWarden client configuration
Almost there! Now we just have to configure the mobile app and/or the browser plugins.
All the BitWarden clients can be downloaded at https://bitwarden.com/download/ .
This is what the app will look like on Android the first time you open it:
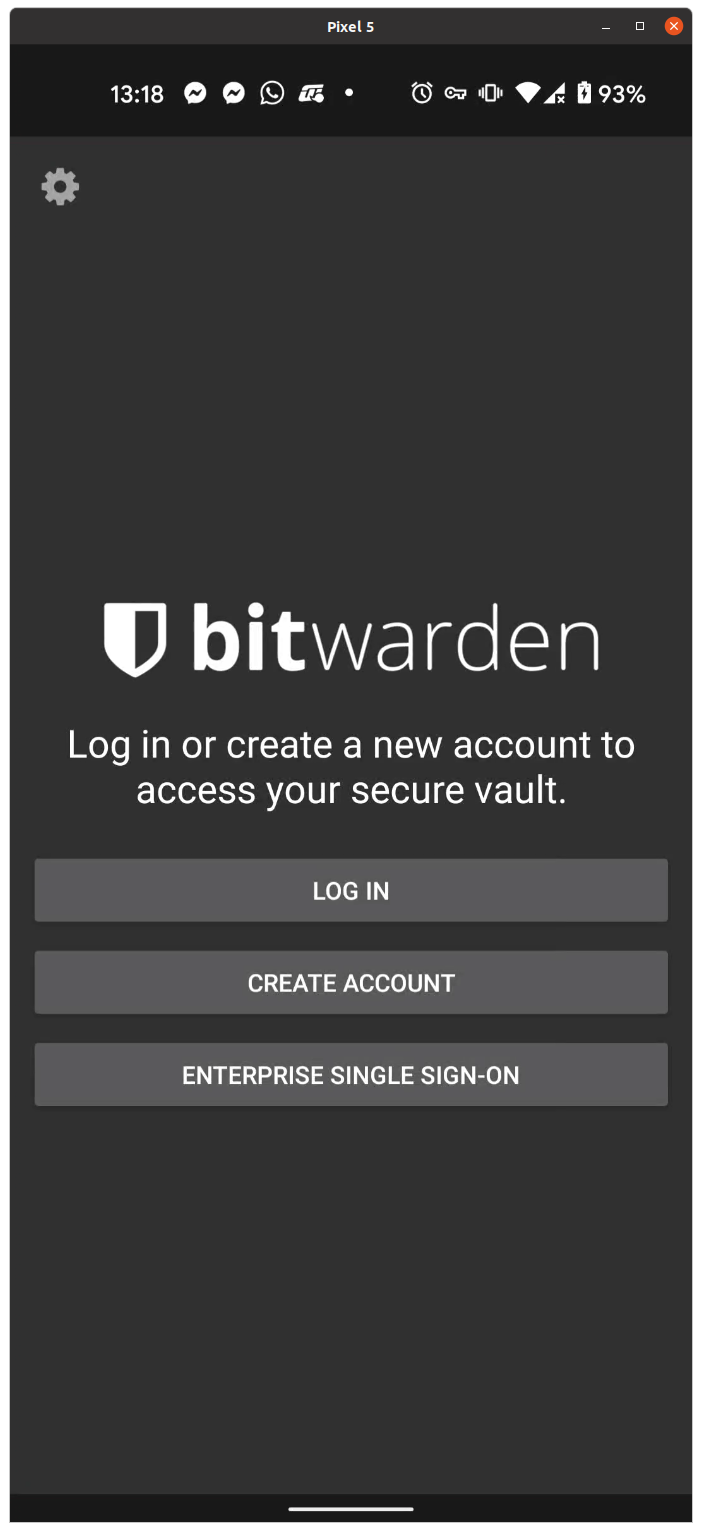
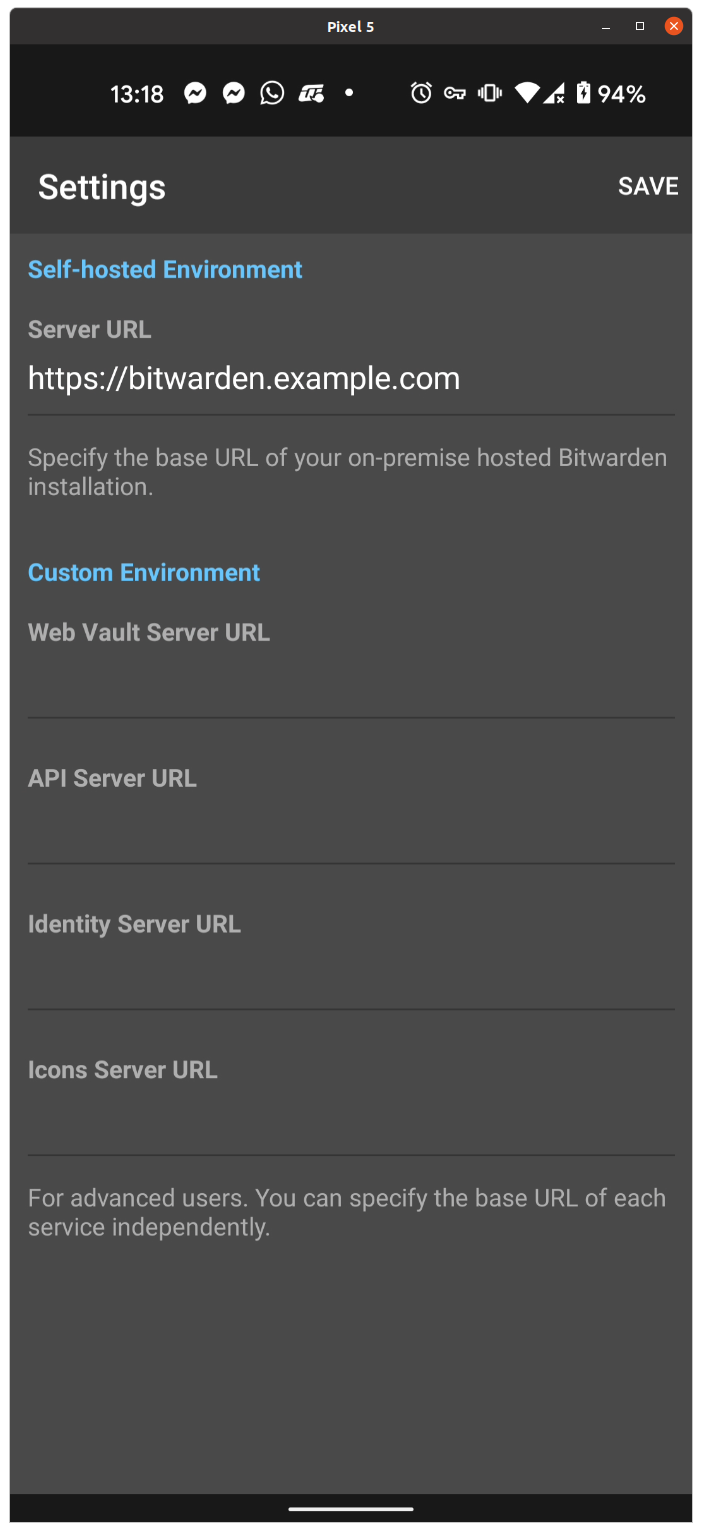
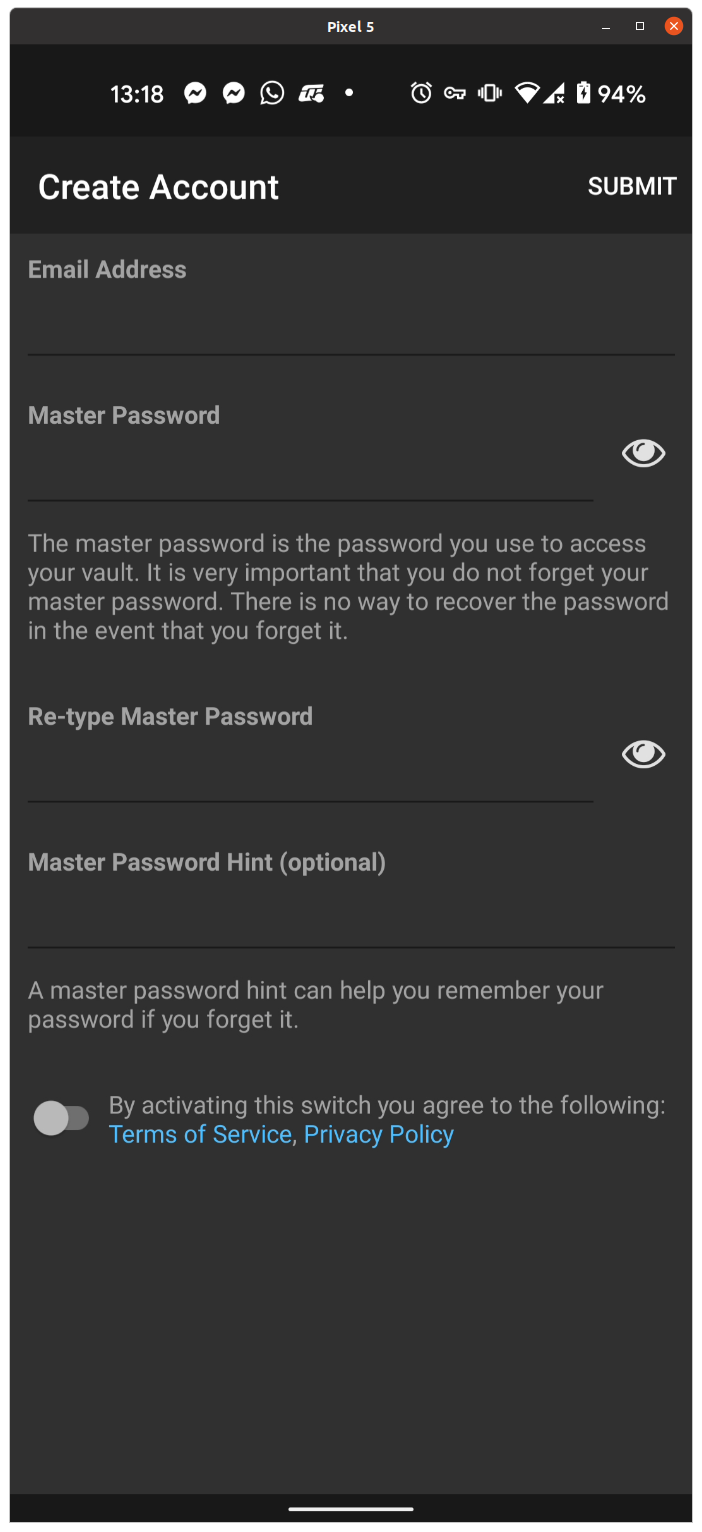
Click on the gear on the top-left. It will open the settings, where you can configure the URL to your private BitWarden server, in this case https://bitwarden.example.com . Then hit Save, which will bring you back to the initial screen. Now you can click on “Create account”.
Type your e-mail and master password. All this data will be saved to your Raspberry Pi, so you are not really competing for real e-mails, but this might be useful for password recovery purposes.
And there you go! Make sure you configure the app with 2fa, and if you want with biometric login and/or PIN. Then add some websites, and you will see them in the Android keyboard once you try to sign-in into a website, like shown below:
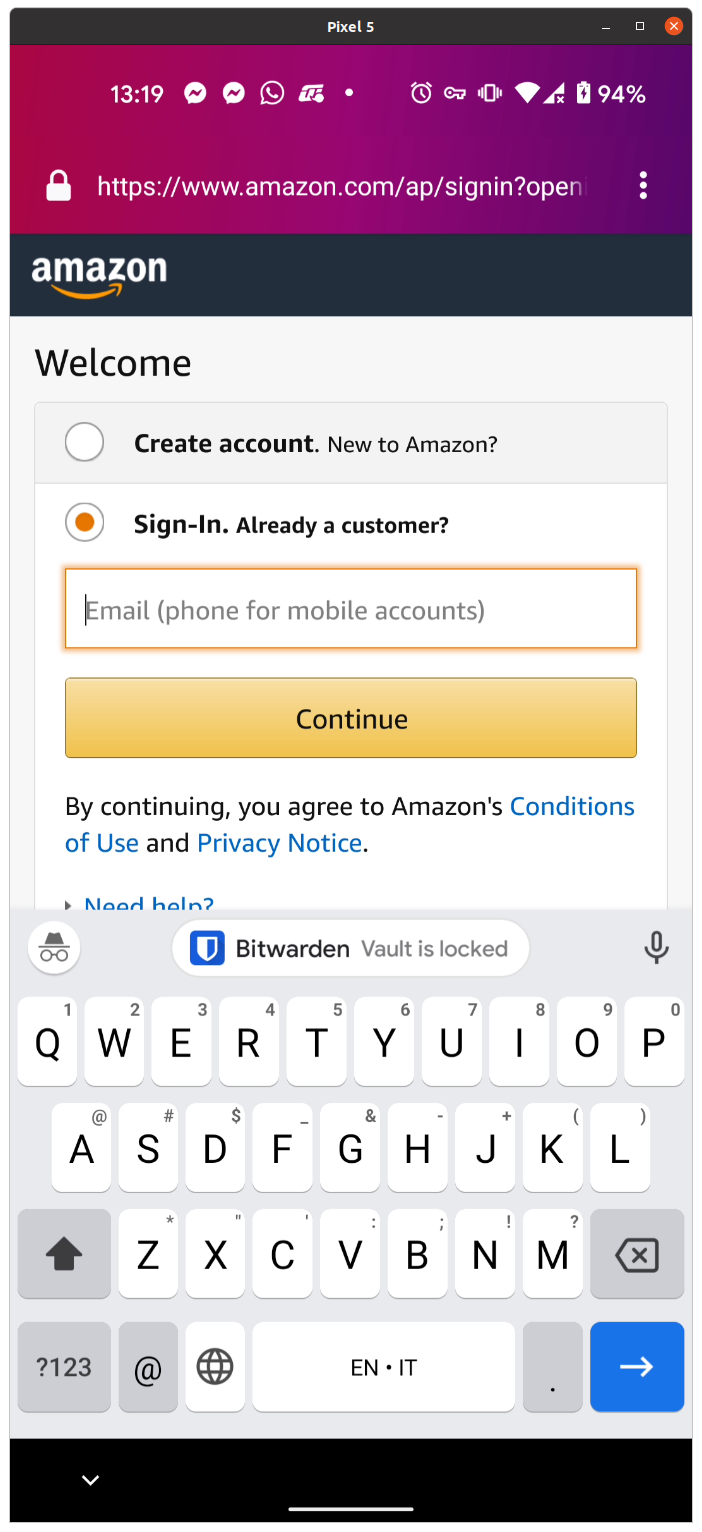
If you use the browser extensions, remember to set the self-hosted instance URL there as well.
Hope this was useful!
Questions?
If you have questions, want to correct or improve this article, or just want to get in touch with me, send me an email or message me on Twitter.